Setup Validator for Endurance Staking
Minimum Hardware Requirements
- CPU: 4 cores
- Memory: 8 GB
- Disk Space: 200-300 GB (considering future network growth, some buffer has been reserved)
Installation
run the following command:
/bin/bash -c "$(curl -fsSL https://raw.githubusercontent.com/OpenFusionist/EthPillar-Endurance/main/install.sh)"
Running Nodes
To start running nodes, simply execute:
ethpillar
EthPillar's TUI provides comprehensive step-by-step instructions. Additionally, we have recorded a video guide:
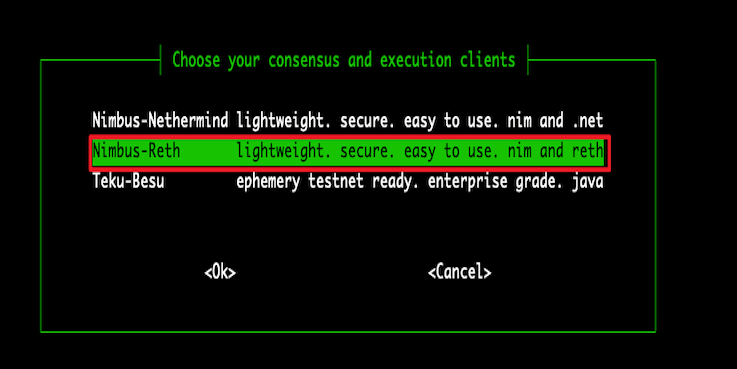
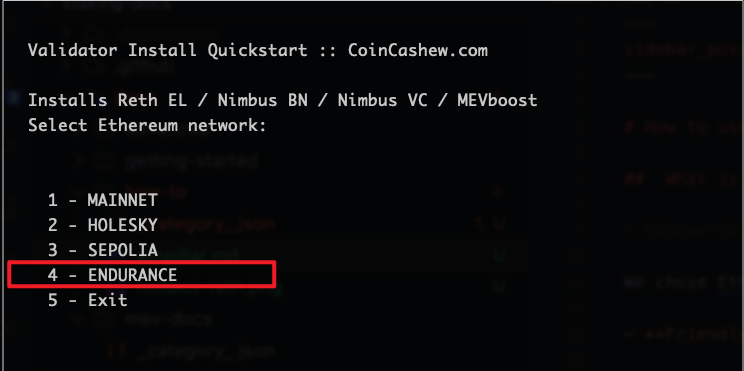
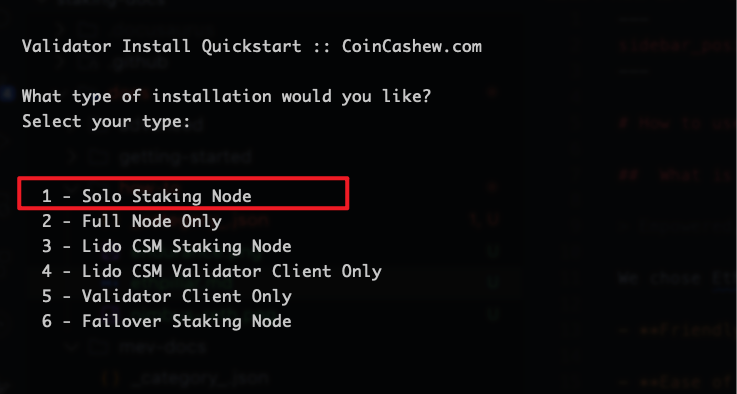
Here are some screenshots of key steps:
-
Selecting the Nimbus-Reth client (requires 4 CPU + 8G memory)

-
Choosing the Endurance network

-
Opting for solo-staking mode

Generate Validator Key & Send Deposit
EthPillar integrates with ethstaker-deposit-cli to assist users in managing Validators within the TUI. This includes generating and importing Validator keys, as well as making deposits.
To proceed, run ethpillar, select Validator Client -> Generate / Import Validator Keys, and follow the instructions. EthPillar will automatically load the generated keys into the validator.
Following the TUI prompts, you can choose to send your deposit request on-chain via launchpad (recommended for most users).On the staking launchpad page,There are the following steps:
- Advisories: Everything you should understand before becoming a validator, Read it and click
I ACCEPT - Choose client: Already integrated into Ethpillar,just click
CONTINUE - Generate keys: Already integrated into Ethpillar,just click
I am keeping my key(s) safe and have written down my mnemonic phrase.andCONTINUE - Upload deposit data: Follow the instructions on the webpage
- Connect wallet: Follow the instructions on the webpage
- Summary: Follow the instructions on the webpage
- Transactions: Follow the instructions on the webpage
For large-scale stakers (e.g., depositing thousands of ACE), using our batch deposit CLI tool is the recommended approach to efficiently submit deposit requests.
In this section, we have recorded a video guide:
Withdraw Deposit
EthPillar integrates with ethdo to facilitate the withdrawal process for Validators within the TUI.
To withdraw, run ethpillar, select Validator Client -> Generate Voluntary Exit Messages (VEM) and Validator Client -> Broadcast Voluntary Exit Messages (VEM), and follow the instructions.
In this section, we have recorded a video guide:
EthPillar will withdraw all keys located in your specified validator keys folder.